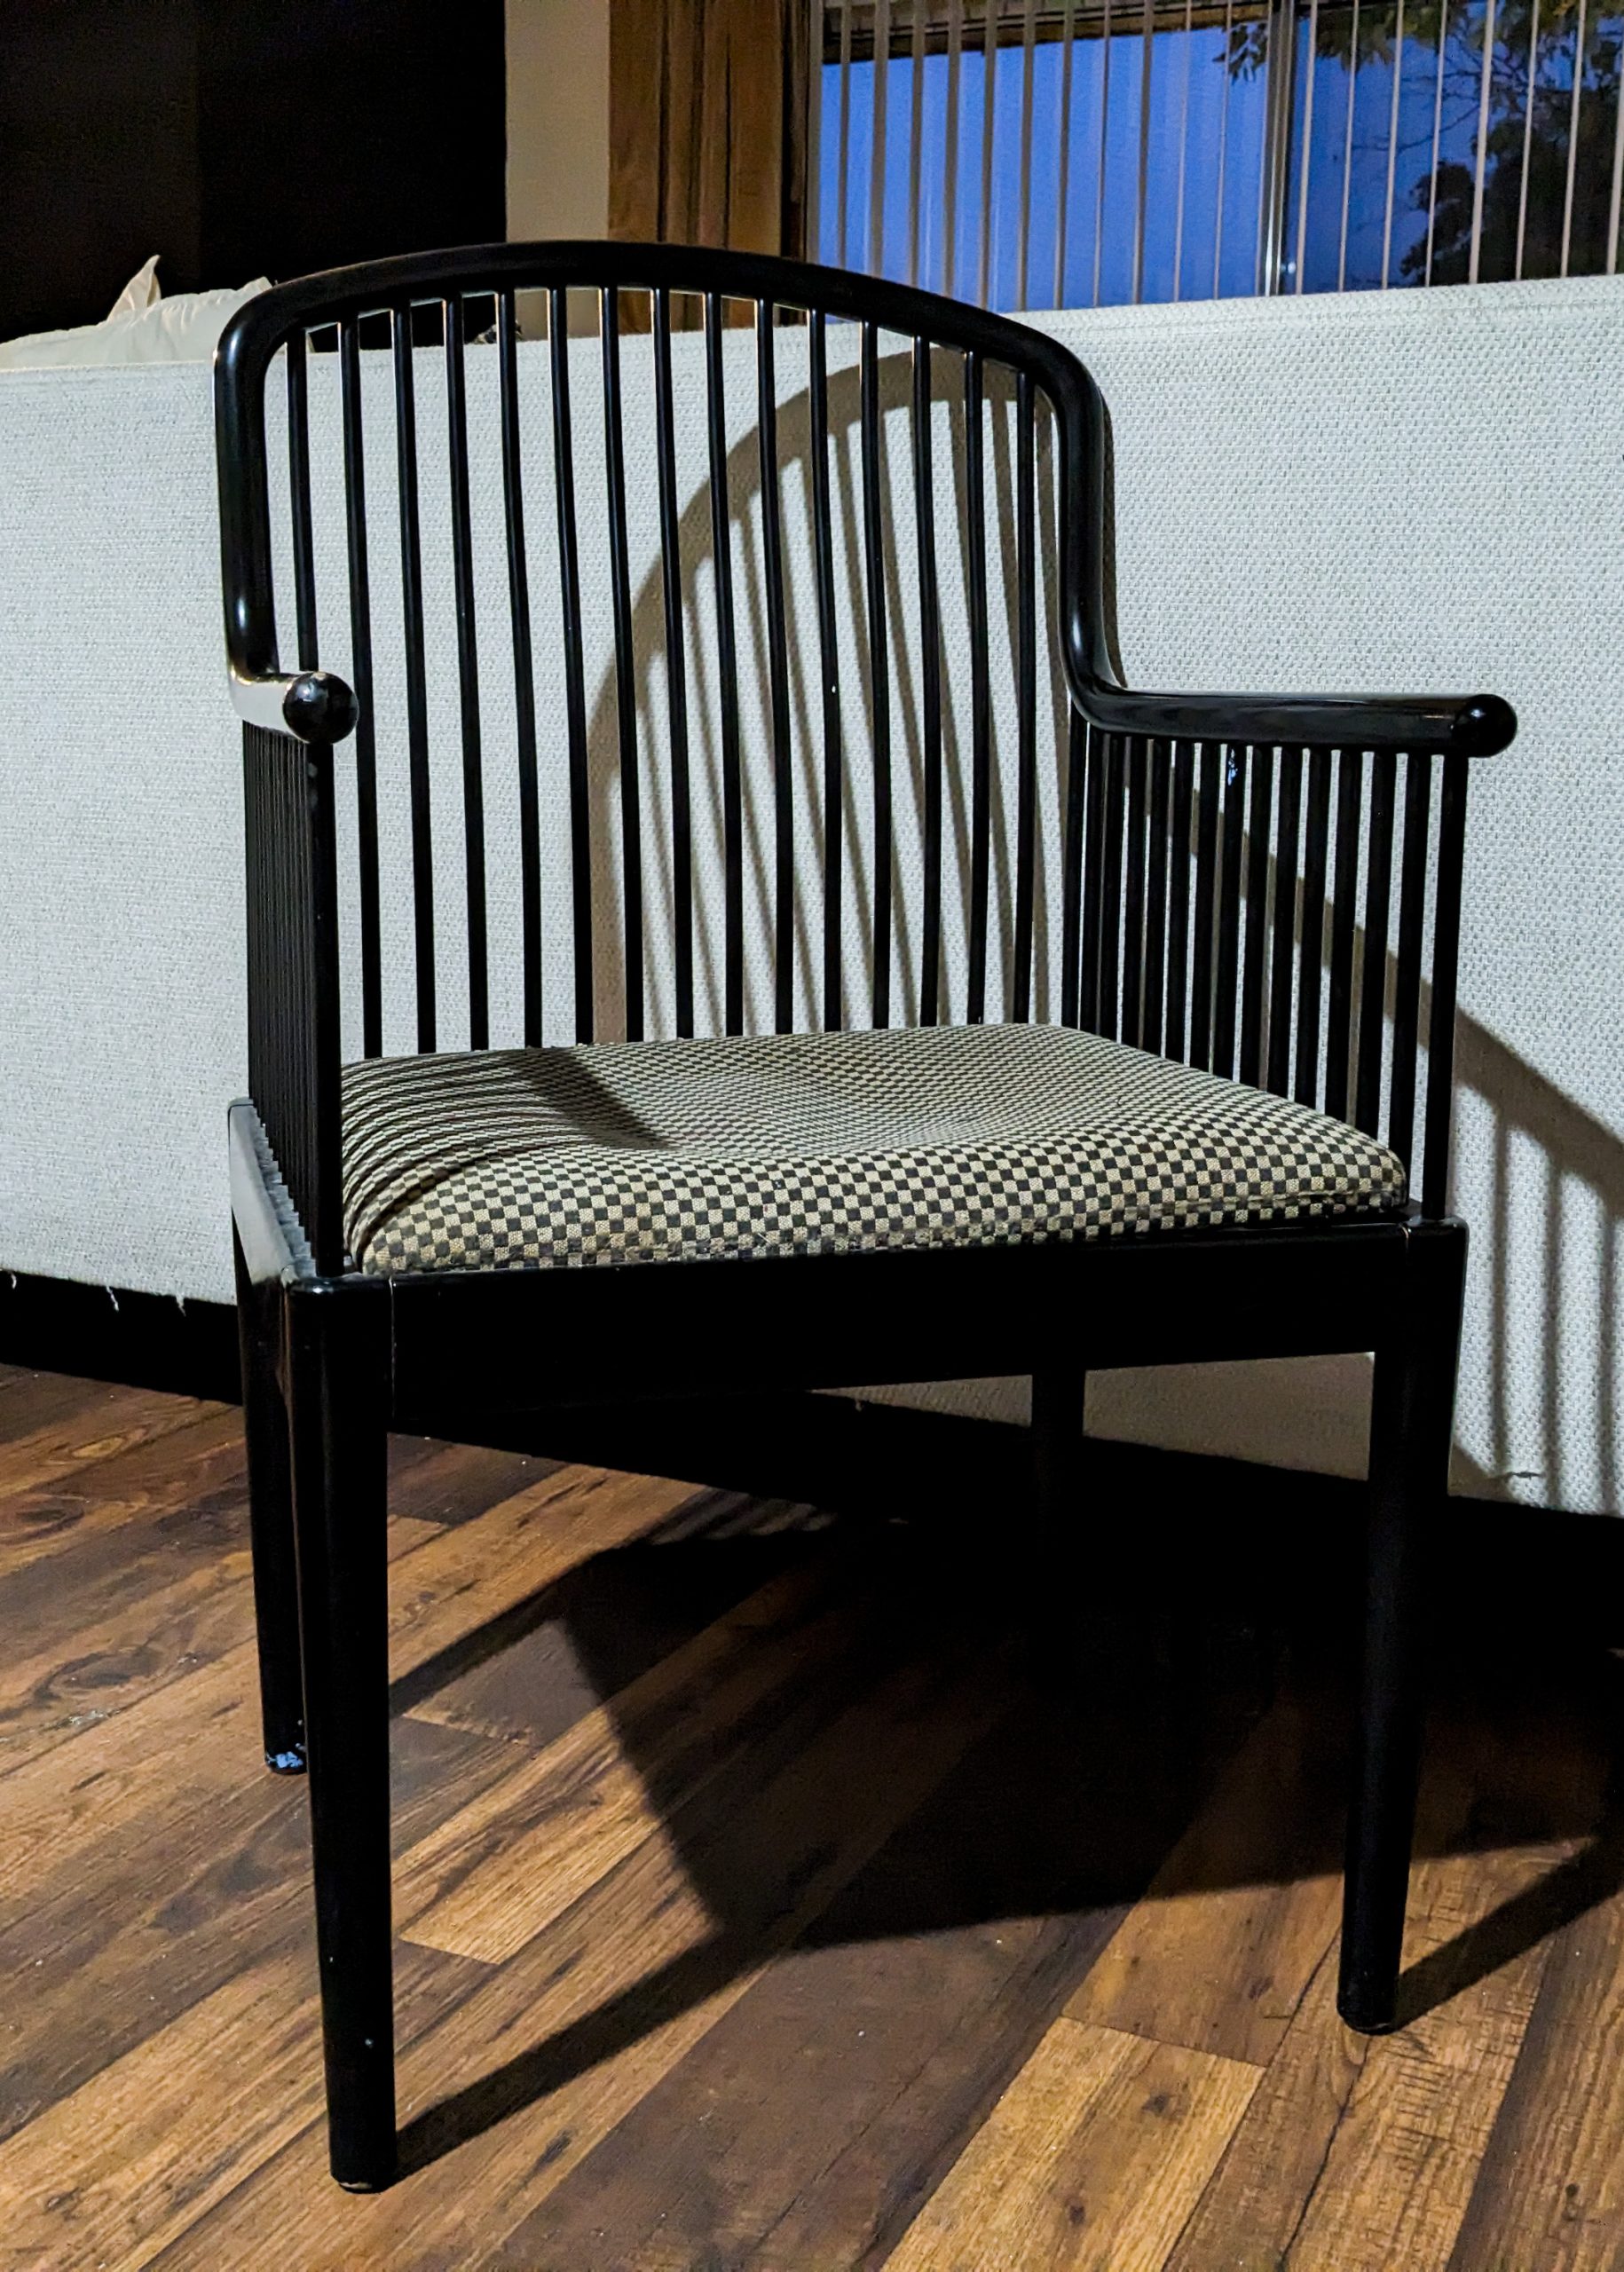
About 15 ish years ago I was browsing through the Out of the Closet in West Hollywood as a broke college student. Thrifting for a cause and because I needed clothes and if I was lucky something new to me for my apartment. I came across this gem of a chair for $15. I loved it at first sight. Even though though the seat was sunken in and stained, the curved lines and the deep black lacquer drew me in. I knew it was good quality but I wasn’t very well versed in furniture design (and still ain’t) to know exactly what I was looking at.
Ever since I bought it I had been promising myself that I would clean it up and recover the seat. It took over a decade and several residences later before I finally rolled up my sleeves to do it. It was then that I discovered how precious a gem this was. I lifted the seat to check for a brand seal and found glinting back at me: Andover by Davis Allen for Stendig. Made in Italy. I immediately searched it up to find that I had an authentic original chair by the famed architect and product designer Davis Allen.
Updating the Stendig
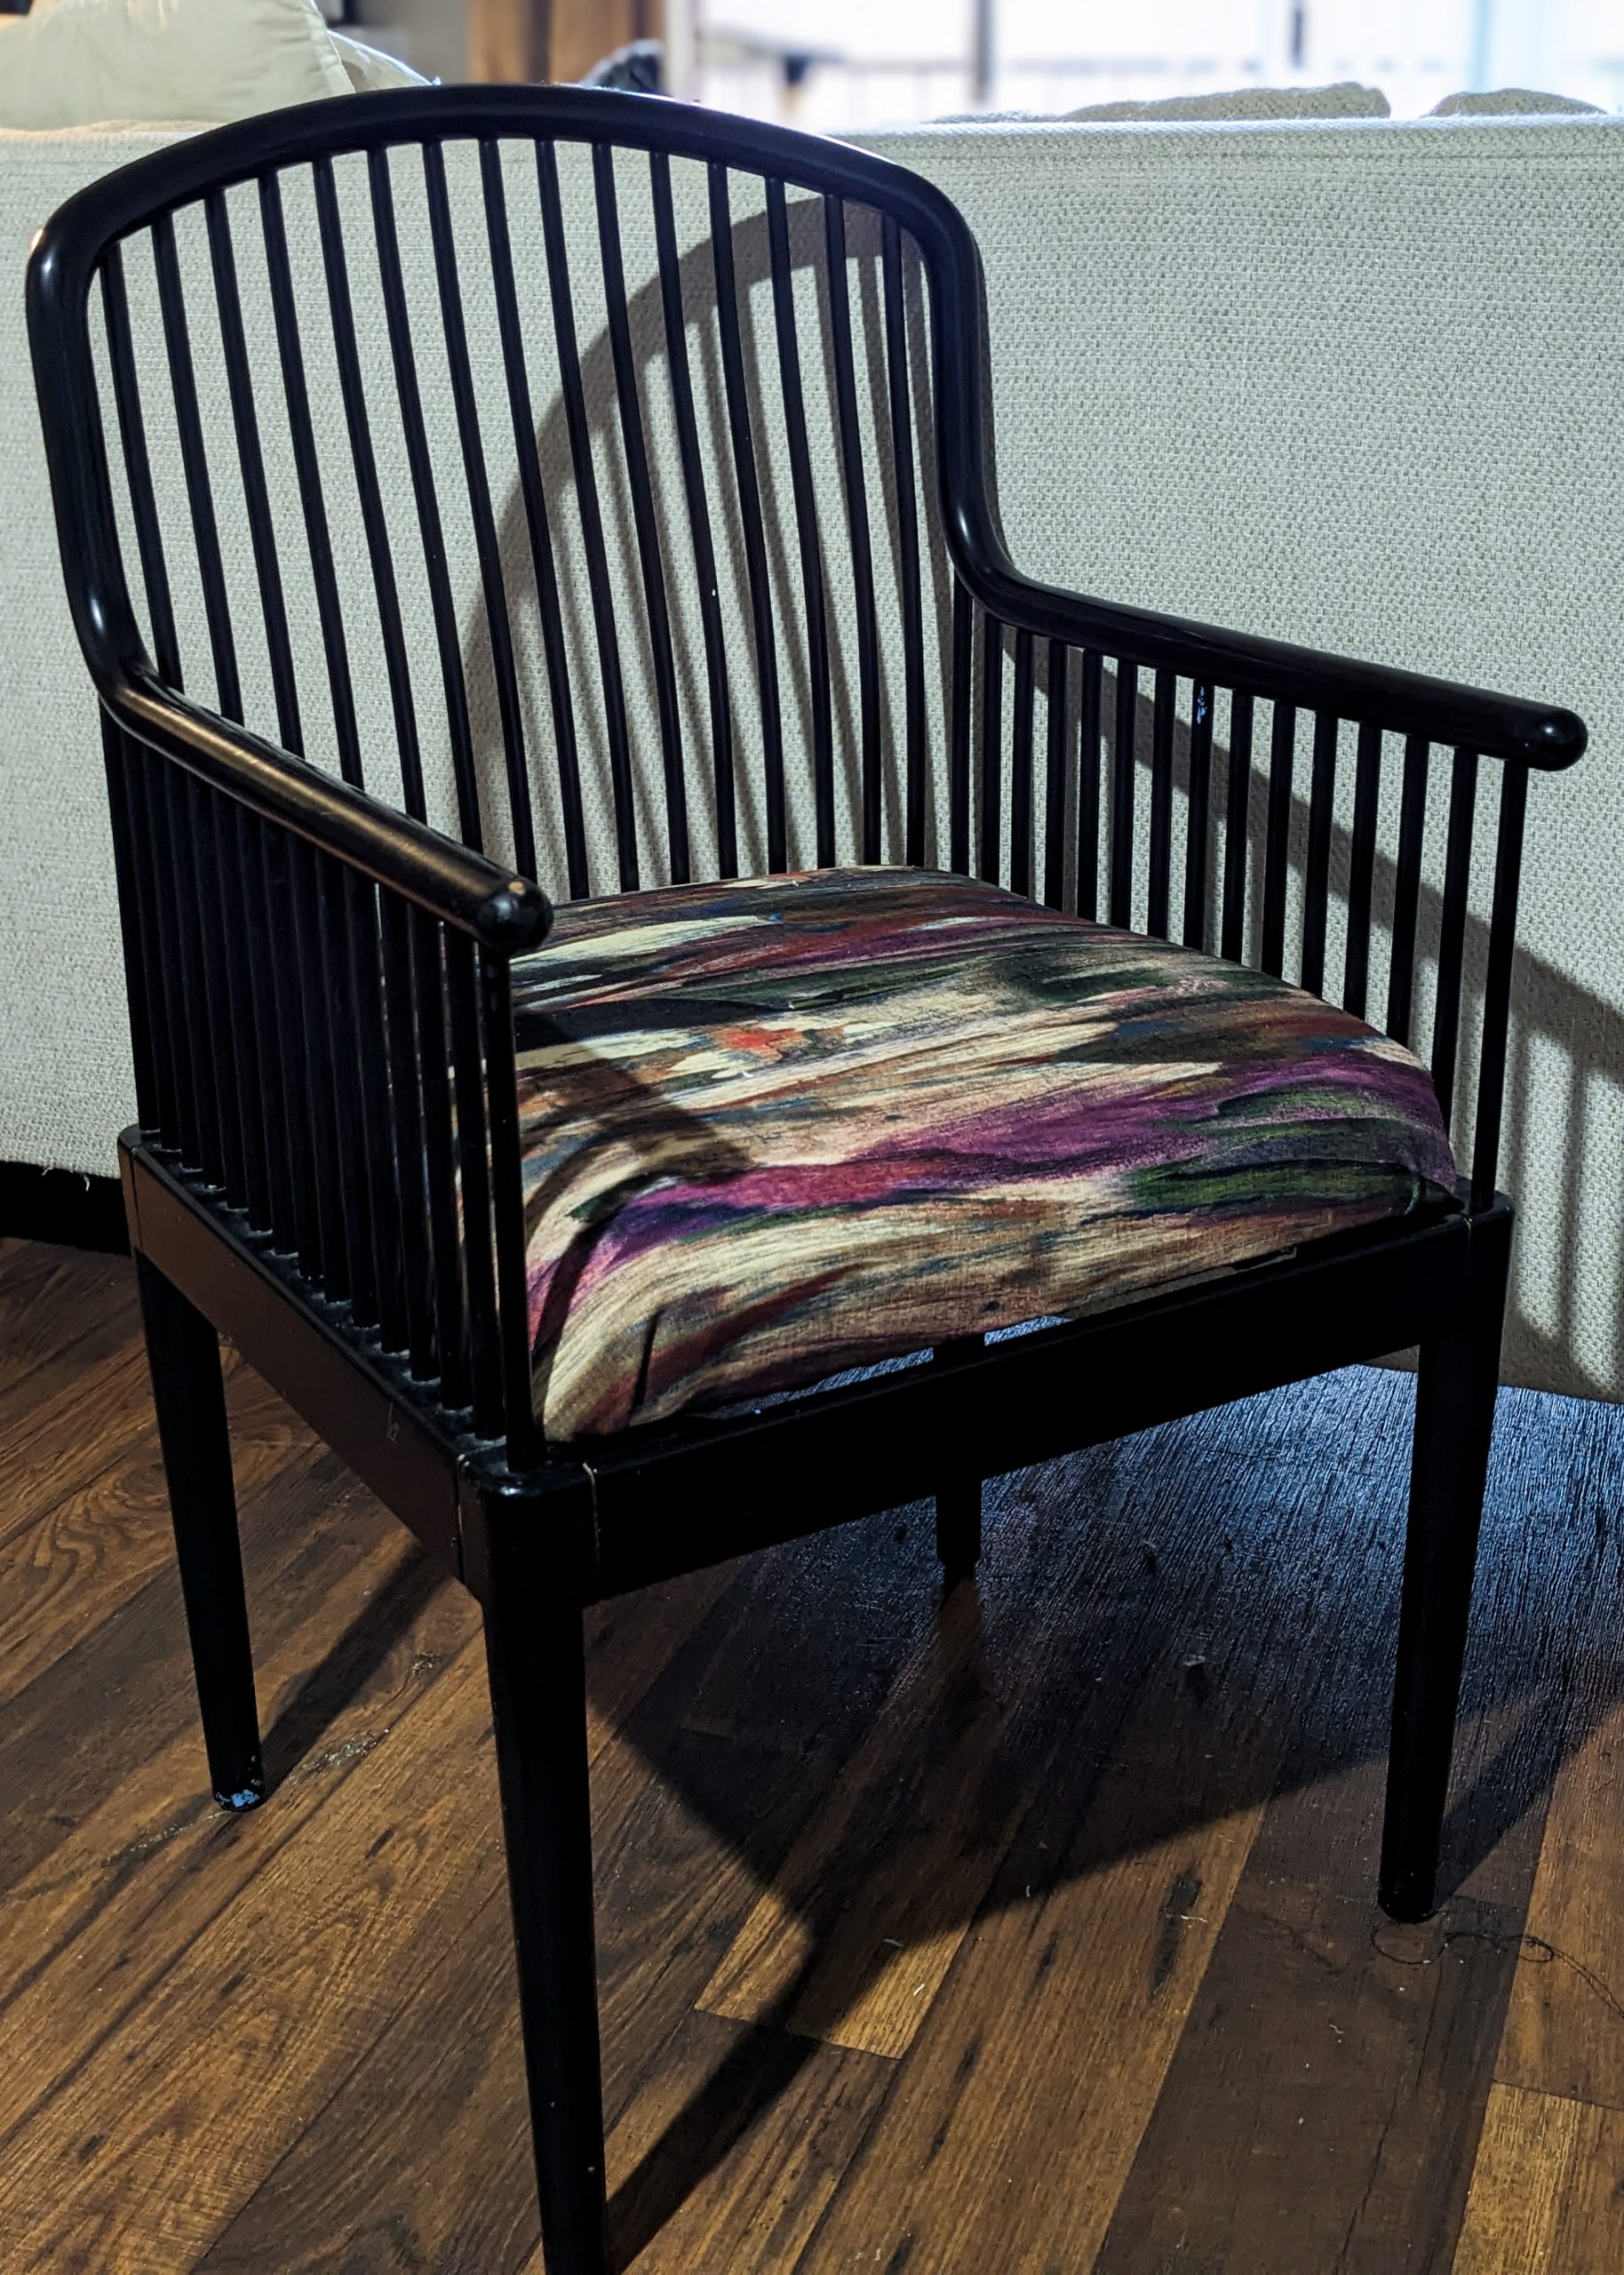
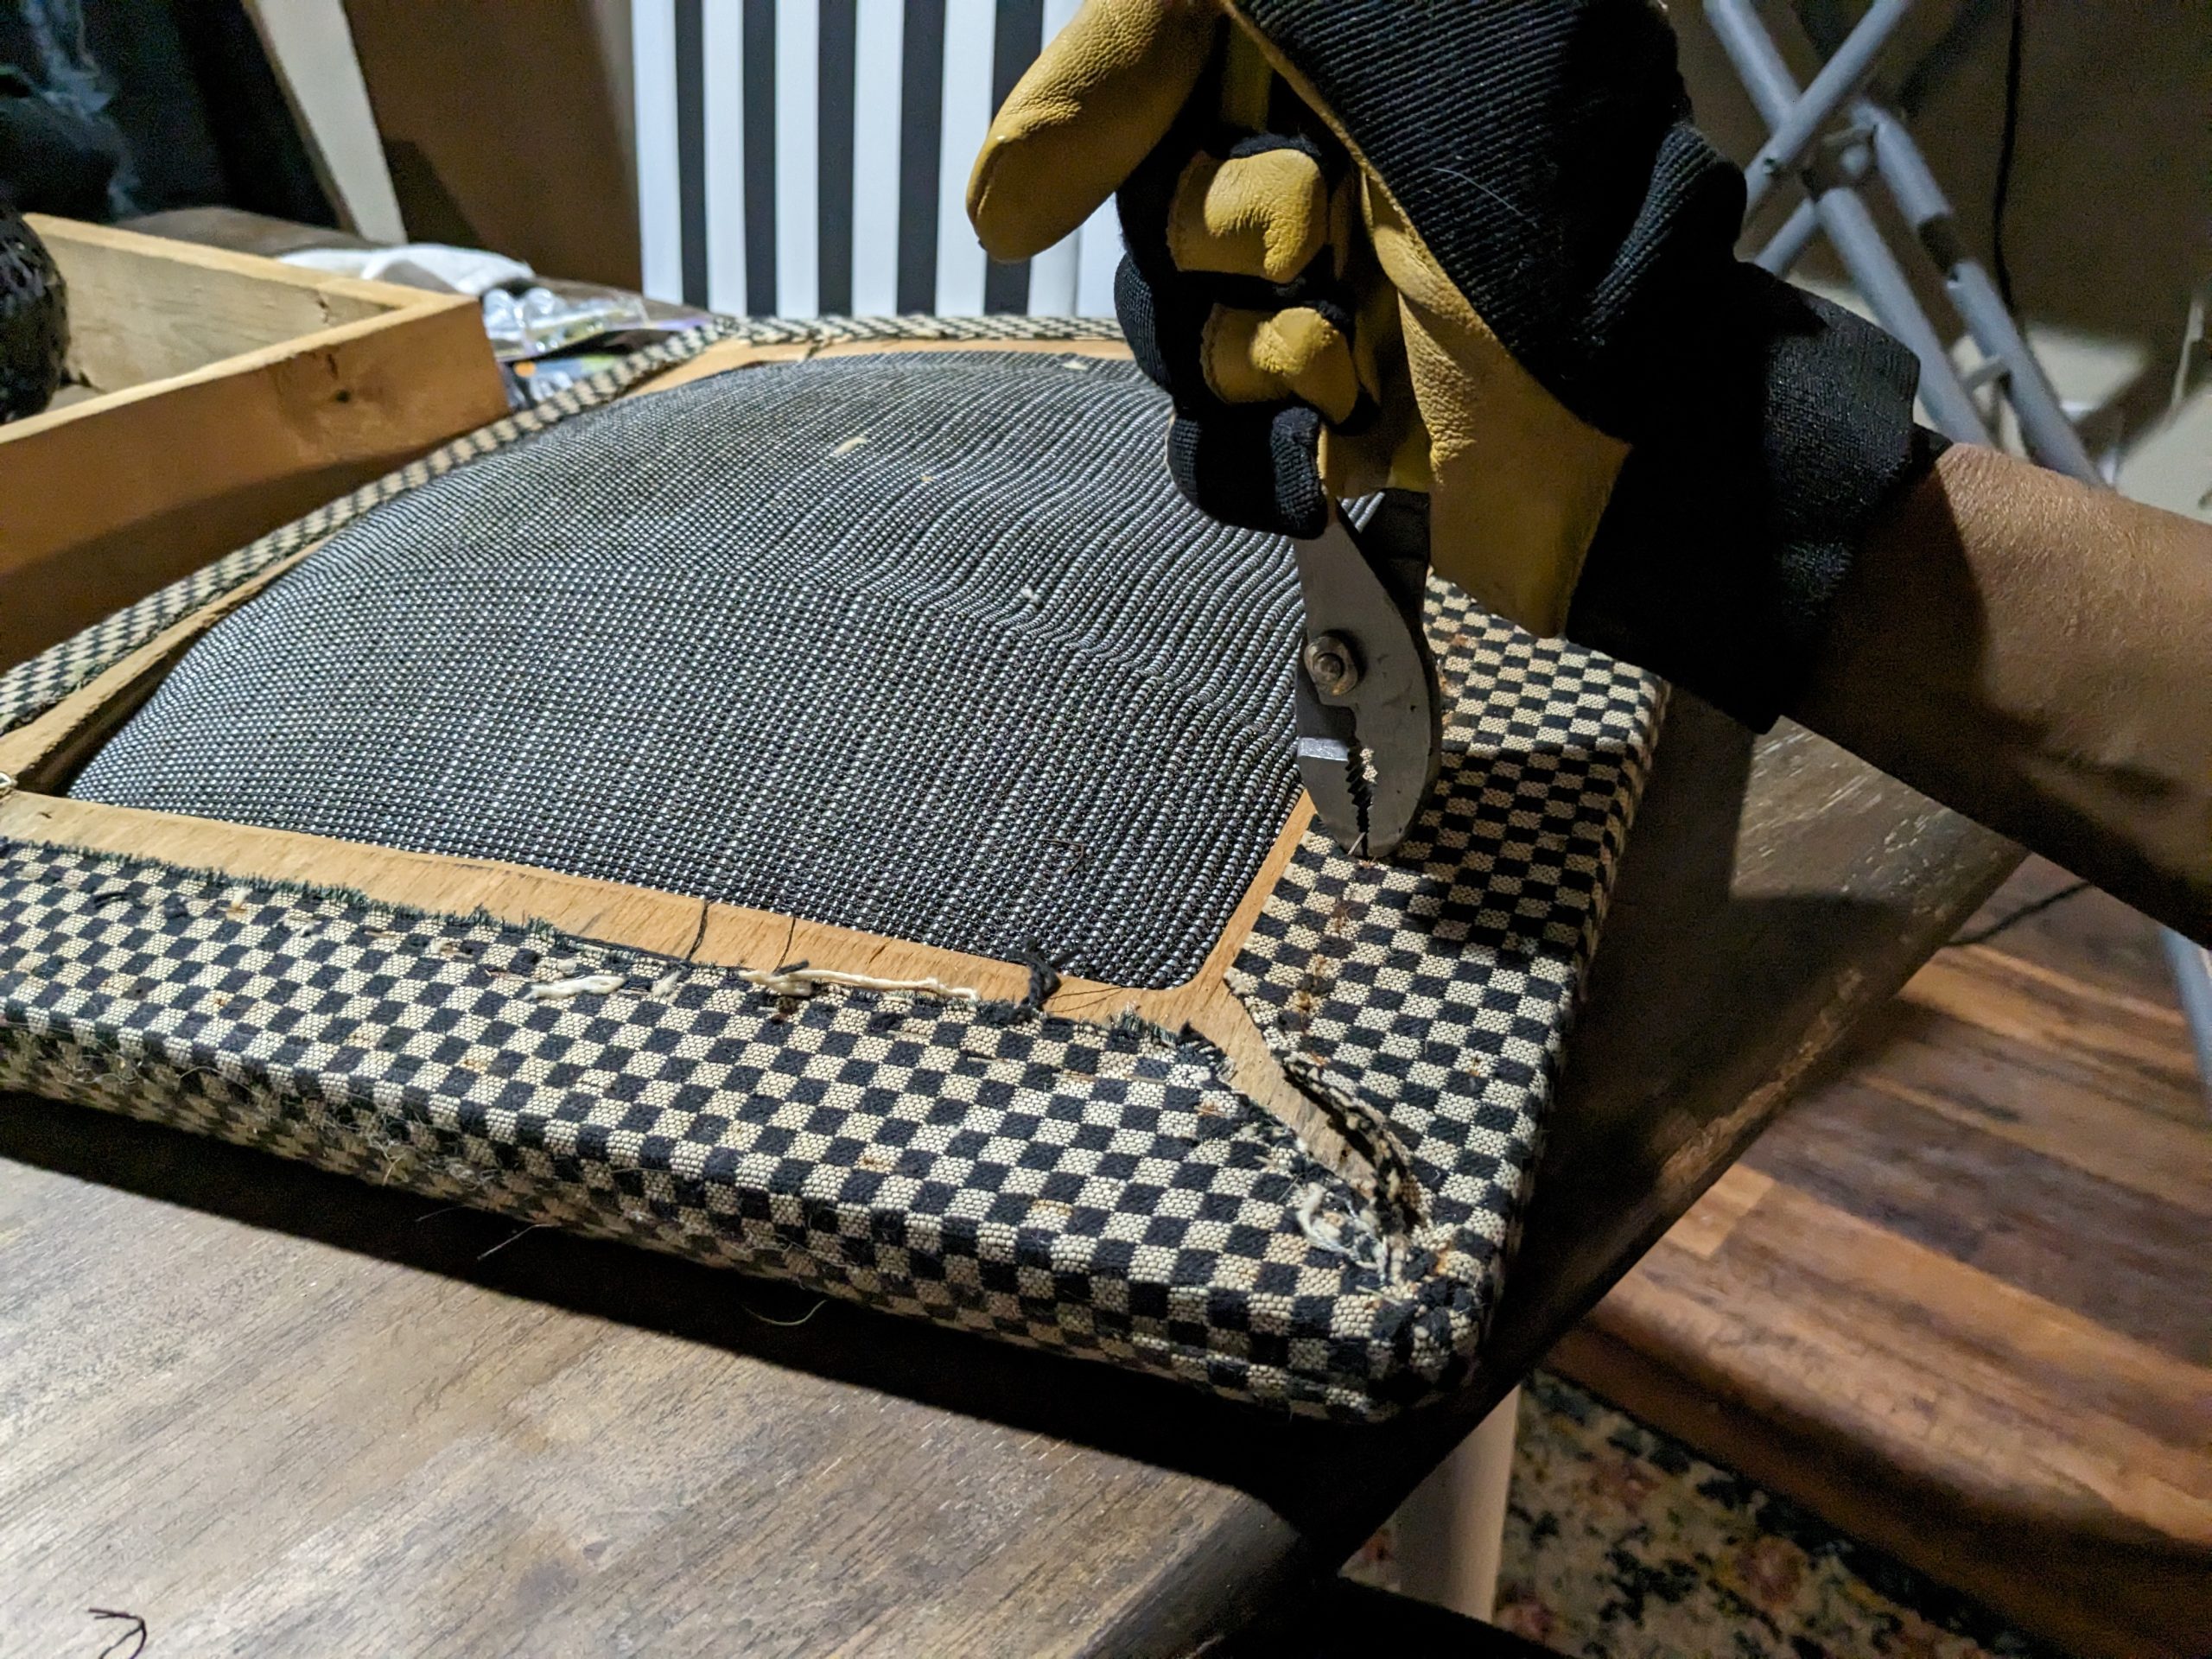
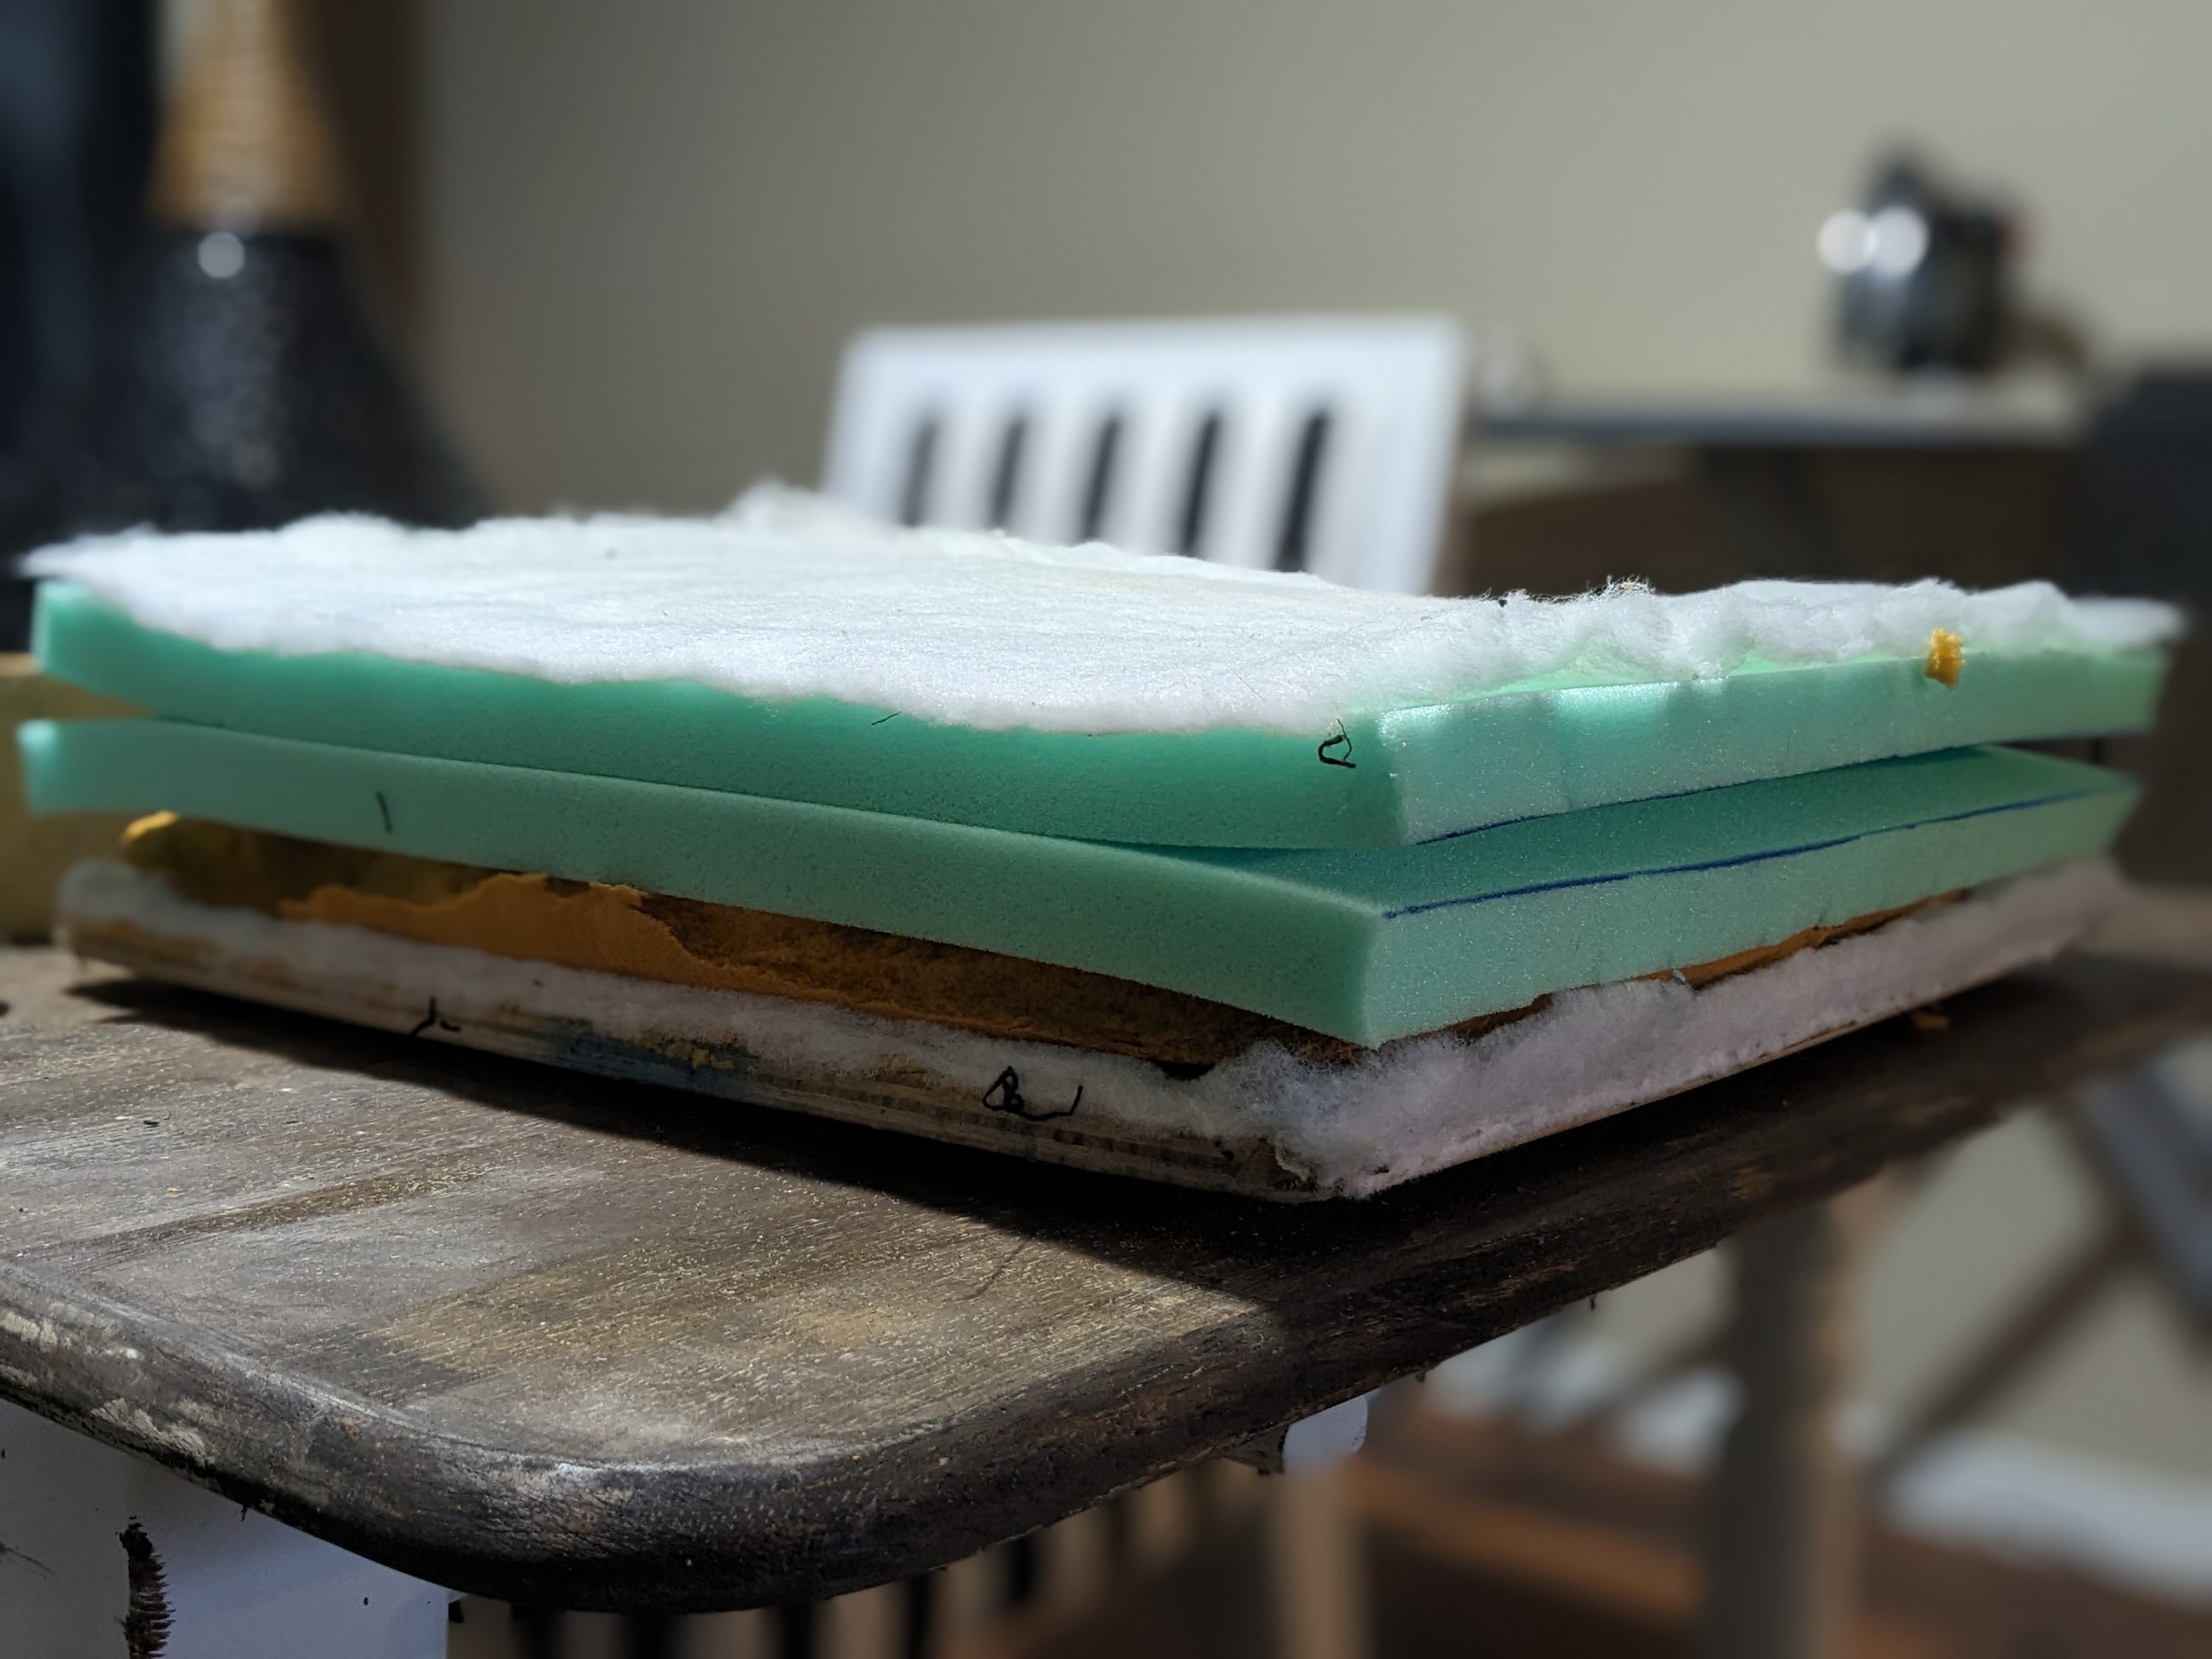
Down the rabbit hole I fell to learn more about the history of the chair. (This article is a great summary about the chair’s designer and its history.) I appreciated the history of the chair and I liked the original fabric it had, but I knew that my reupholstery effort wasn’t going to stay completely true to the original. For one, I went with an entirely different fabric weave and print that better suits my room; and for two, I increased the thickness of the seat because I could not find a way to salvage it otherwise. The seat is a solid wood frame with a center hole cut out for sitting. It looks a bit like a toilet seat. This explains why it began to sink over time. Even with the firmest foam, with no underlying support, sinking is a foregone conclusion.
Besides, I liked the beefed up seat. It’s just more comfortable to me and I don’t think it throws the visual line of the chair off at all. Learning that this chair, if I restored it to its original glory would resale for upwards of $800 had me speechless. Though I have no intention of selling it, seeing as how the world has a monetary value for it I’ll need to get it added as line item on my renters insurance.
The fabric I used was a $4/yd canvas from Joann Fabric. Unfortunately, I’m unable to find a resource for the fabric as of publishing, but if I do I’ll update the resource list at the bottom of this post. I purchased 1” foam and doubled it for the new cushion. When I saw that there wasn’t much I was going to be able to do about the sinking seat, I flipped it over and placed the new foam on top. For the next fifteen years it can start sinking in the other direction. I retained the dust cover that came with it to finish it up. A quick wipe down with a damp cloth to remove the dust that had caked onto it over the years and it was gleaming again.
Keeping Promises
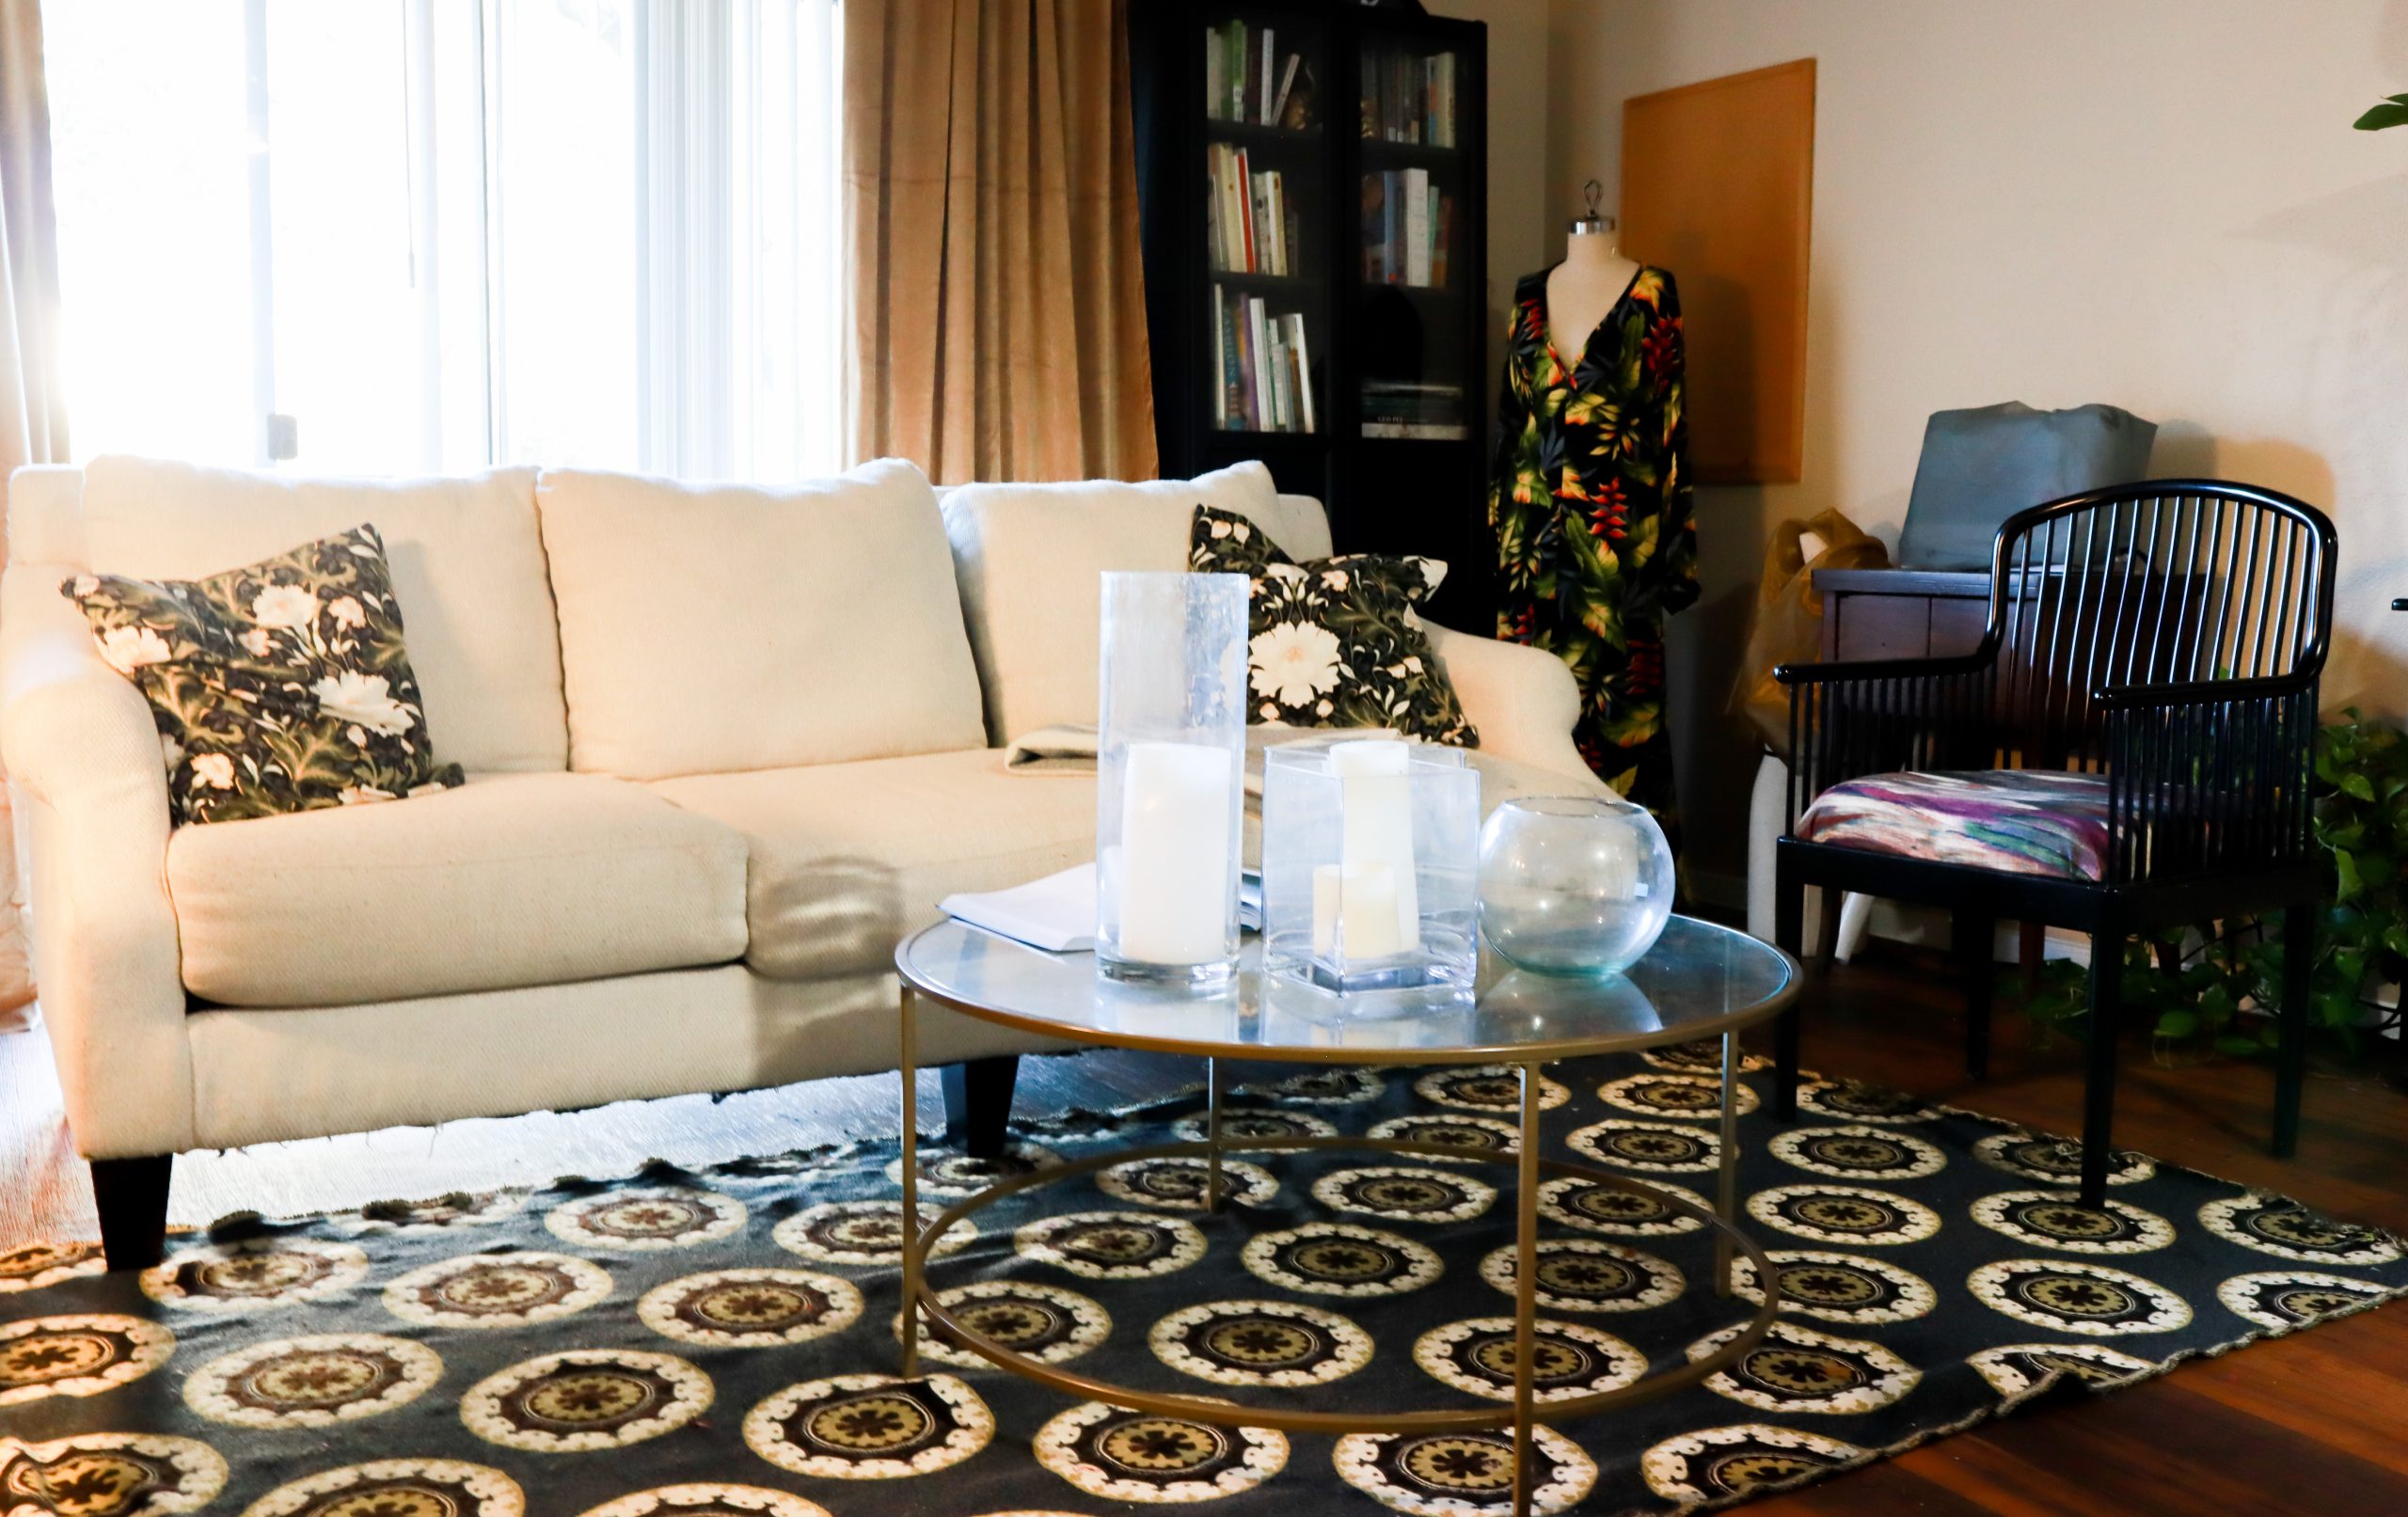
Now it proudly sits in my living room as a beloved piece and a testament to the path I’ve walked since my college days. For me, it serves as a symbol of my own transformation over the years. I finally made good on the promise to myself to update it which an incredibly good feeling. That chair has seen me through a whole lot and now we’re both living life to the fullest.
Resources
1” Thick High Denisity Foam – Joann

Leave a Reply
You must be logged in to post a comment.