I Wanted Black Walls and Now I Have Them

I wanted black walls in my dining nook but I can’t (and don’t want) to paint in my rental. So, what was I to do? Answer: starched fabric wall coverings.
If you haven’t heard of this technique, it is similar to covering walls with wallpaper however unlike most traditional wallpapers, the results are impermanent and cause no damage if applied and removed correctly. Using a starch medium, fabric is adhered to the walls and can be removed by saturating the fabric with water and peeling the fabric off. The fabric can then be laundered and reused. Typically, people use this technique to take advantage of the wide variety of prints available in fabrics, its relatively low cost as compared to using wallpaper, and its damage free removable aspect.
I’ve most often seen people use this technique to mimic high end wallpaper with printed designs. I don’t have a need for a print in this space, but I figured this will work just as well for solid colors. There’s solid colored wallpaper so it’s not like it’s a stretch. The only thing that gave me pause is the fact that my apartment walls are randomly textured in a clumsy sort of starburst pattern. If I can get the color I want on my walls it seems like a good trade off to me. I decided to lean into the texture instead of fighting it and selected a polyester dupioni which gives both texture and sheen to the wall. I really like mixing textures and light so to me this played beautifully in the space.
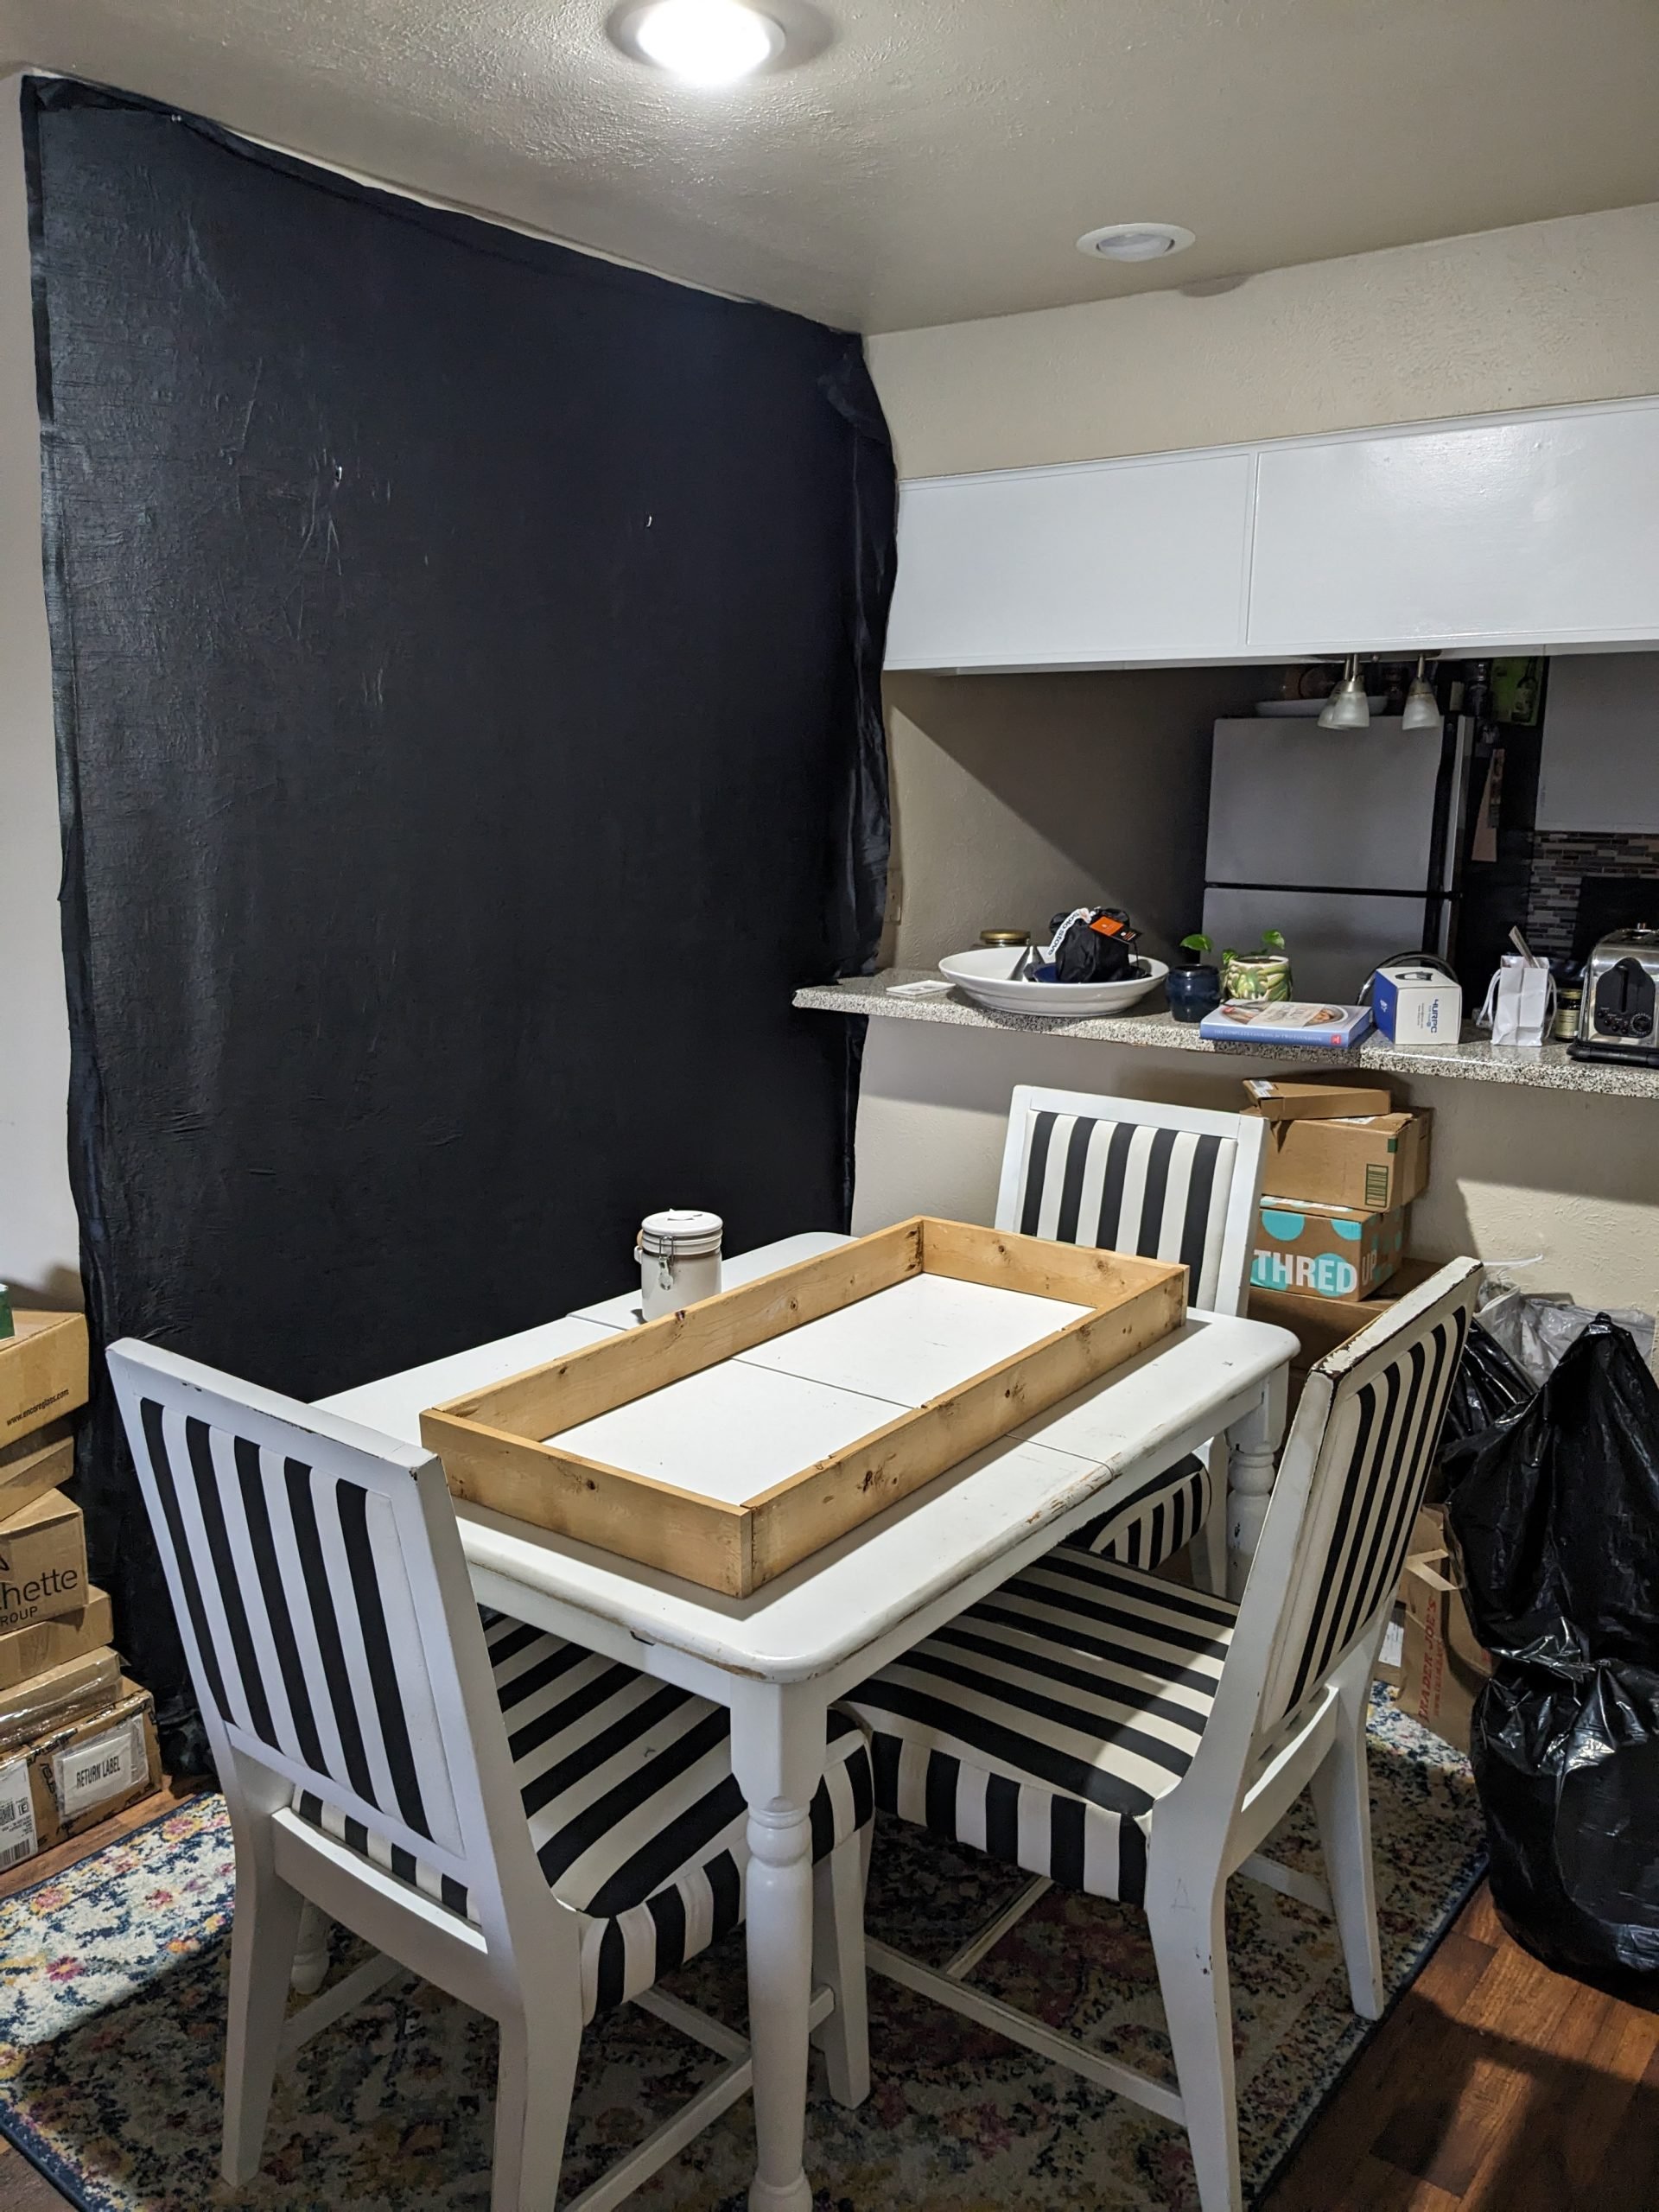
 my dining area space before

It worked out so well I also gave the same treatment to my chimney. The two spaces are diagonal from each other so I think they offer a nice mirror to each other without overwhelming the space.


How To Cover Walls With Fabric
It took about an hour to hang the fabric on my dining area wall and twenty minutes for my chimney. I found the following steps to work best for me:
- For painted surfaces that have cured: prep the wall by removing dust using a damp cloth.
- Remove face plates for outlets and light switches. Tape off the exposed electric components to protect them from the liquid.
- Prewash your fabric to remove sizing and excess dye. This will also allow the fabric to shrink now so it will be less likely to on your wall.
- Precut panels giving about 6” more in length than needed.
- Cut the selvedges from each panel
- Using push pins or masking tape (or both), pin the fabric to the wall at the top staggering them evenly
- Using a paint roller, roll starch under the fabric near the top, covering just enough area to adhere about the first foot of fabric down.
- Smooth the fabric over with bare hands carefully working out any puckers or wrinkles
- This is where my approach diverges from what I’ve seen instructed: from here out, saturate the fabric using the roller on top only, working in sections and smooth with out and down with your hands.
- Overlap panels by about half an inch and continue in the same fashion along the wall. For matching prints, hold in place along the seam with push pins until you are able to add the starch.
- Wait until the fabric has dried and trim at the baseboards and ceiling with a rotary or straight blade. If you don’t get a perfectly straight cut, try using scrap fabric to patch the area. Dry time will vary, but it took mine about two hours to completely dry in 70ºF temperature.
- For any air bubbles, I found adding extra starch liquid and smoothing them worked well.


Some things to note:
- Over time, starch can cause yellowing on lighter fabrics
- This is not water resistant so I recommend avoiding it in areas that get wet or are prone to humidity
- I used nearly the entire 64 FL oz bottle of the liquid starch to cover a 42.4 sq ft (8’ x 5.3’) wall. I may have been a little heavy handed so your mileage may vary due to the type fabric, roller, and size of your wall.
- Even on smooth walls there may be wrinkling or puckering so give yourself plenty of time to get the finish you’re looking for, particularly when working with prints
- I think this approach will only work well for thin fabrics like the one I’m using. For thicker fabrics it’s probably a necessity to coat both the wall and the top side of the fabric for full adhesion, but I found that method tedious and unnecessary for my needs
Removal
Use water by either spraying with a bottle, using a sponge, or steamer to saturate the fabric. Gently peel the fabric from the wall. The fabric can be laundered and reused for another project. Wipe the walls clean with a mild solution of liquid dish soap. Dry the walls with a soft rag.
When I first started thinking about this project, I was living in a different apartment and bought fabric enough for the space there which was twice as much as needed here. For various reasons I never got around to trying this there, but I’m glad I finally made it happen. The extra fabric I used to make curtains to conceal the bar space and those are still a work in progress. I absolutely would use this technique again and am considering trying it on the set of sliding doors of my hall closet. I’m thinking of developing my own design and having it printed on fabric which will work perfectly for testing a fabric printing vendor I’m considering using for the business I’m developing.
If you try it, do let me know how it goes!
Truly,
Claire
Resources
Polyester Dupioni fabricwholesaledirect.com for wall coverings and curtains
Purex Sta-Flo liquid starch
Fabric Wall Covering Tutorials
Addicted To Decorating - DIY Fail: How Not To Wallpaper Your Walls With Fabric
Apartment Therapy - How To Hang Fabric As Wallpaper
HGTV - How To Install A Fabric Feature Wall