
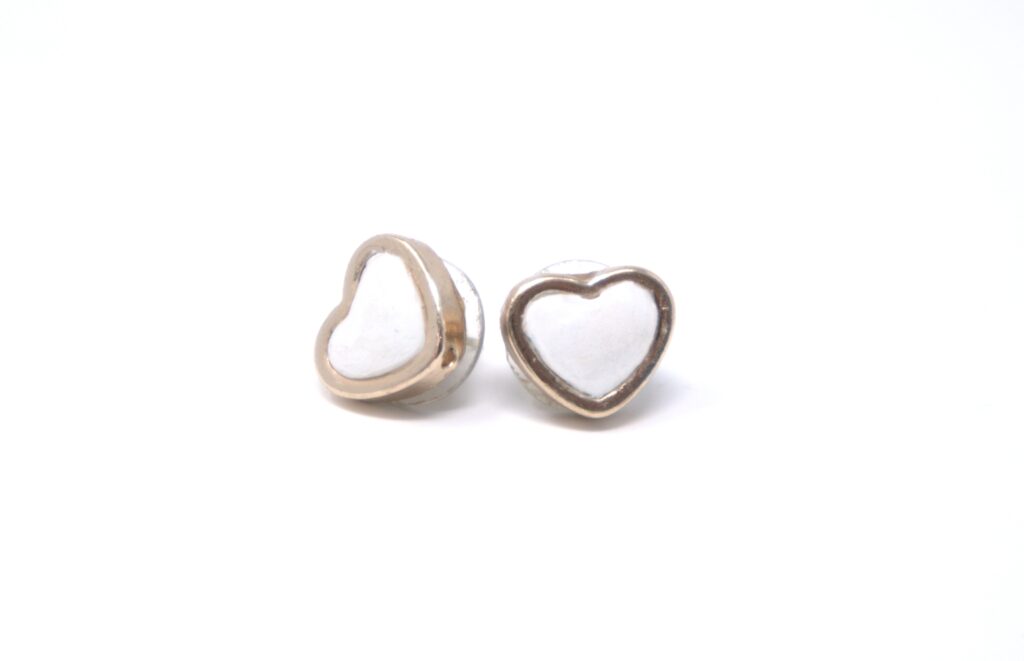
Enamel Look Polymer Clay Heart Earrings
Level: Beginner | Time: < 1 hr | Project Type: Jewelry
These enamel look earrings are extremely easy to make thanks to the use of bead frames and a super glossy sealer. The metal frames give an elegant finish and don’t require the use of specialty cutting tools to get the right shape. While I’ve used single colors in a glossy finish; combining colors, switching finishes, and trying clays with different characteristics like glitter or translucency opens up a world of possibilities!
Materials
- Heart shaped bead frames
- Polymer clay
- Plastic knife or clay cutting tool
- Plastic or acrylic rolling tool
- Silicone mat such as Silpat or parchment paper
- Oven
- Paint brush
- Isopropyl alcohol
- Mod Podge super gloss or similar
- JB Weld SuperWeld Extreme adhesive or similar
- Earring posts
- Flat back earring backs
Directions
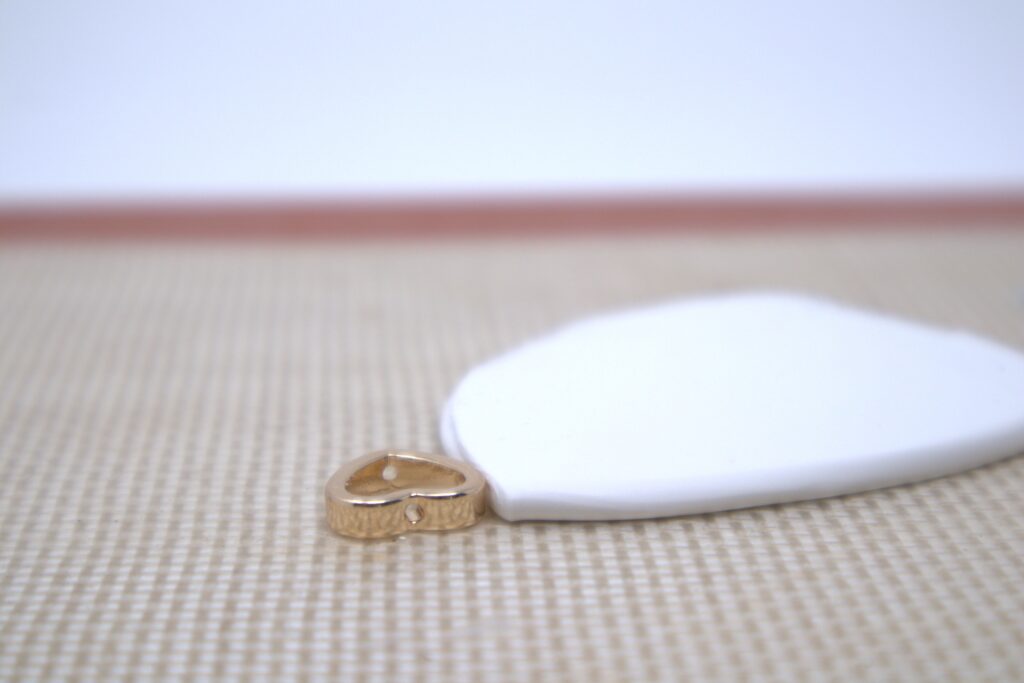
Step 1: Roll out the clay
Preheat your oven to the recommended bake time for your clay. For the Sculpey III clay used in this tutorial I set the oven 275ºF / 130ºC. Working on a nonstick surface such as a silicone mat or parchment paper, condition your clay to make it easier to work with by kneading it with your hands or beating firmly and rolling it with your rolling tool. Once conditioned, roll the clay out into an even layer the same height or slightly taller as your frame.
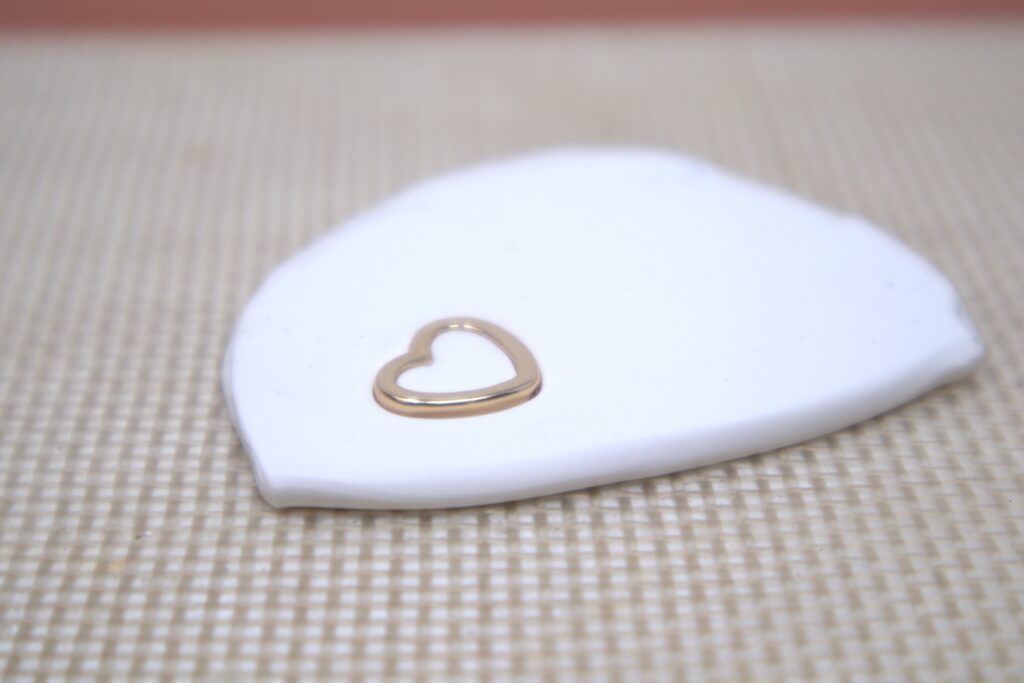
Step 2: Press in the bead frame
Gently press the frame into the clay with care to keep the clay from over flowing the top of the frame. (It’s okay if it does, we’ll address it in the next step). Using your cutting tool cut around the frame to free it from the rest of the clay.
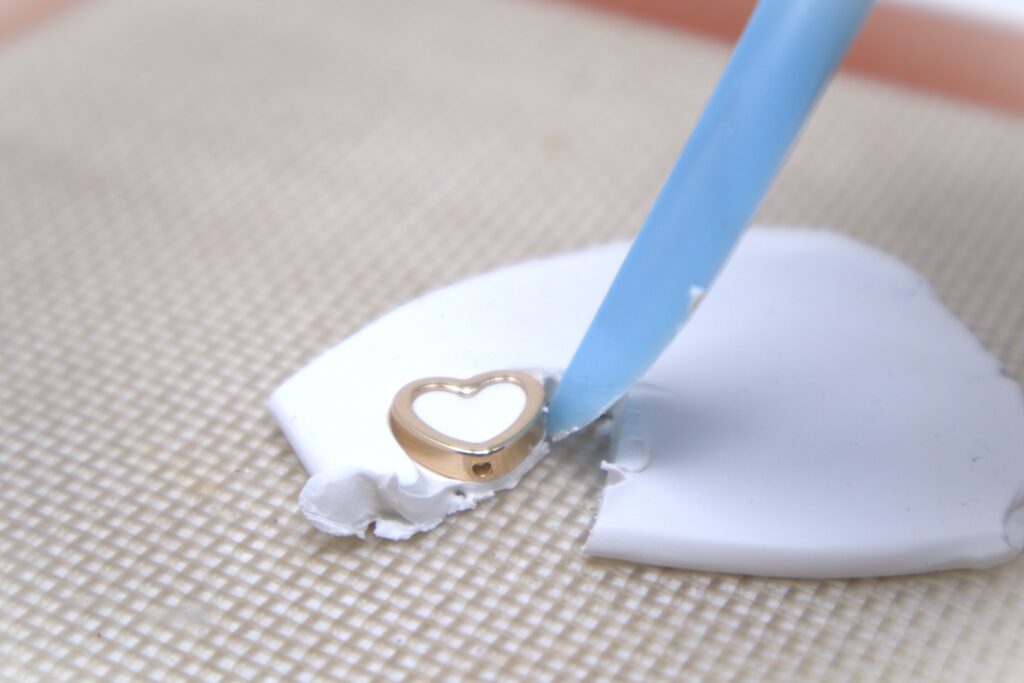
Step 3: Cut out frame and refine
Remove any excess clay from the outside of the frame with your fingers and/or cutting tool. If the clay is overflowing the top of the frame gently push it down. Scrape off any excess clay from the back of the frame. Depending on your design, the clay can sit flush with the top of the frame or, if you want a doming effect push the clay from the back of the frame with your finger or a clay tool. Be sure to keep the back of the frame flat to ensure an even surface for the earring posts that will be glued on later.
Tip! Use isopropyl alcohol to smooth the surface and remove blemishes before baking

Step 4: Bake clay to set
Bake your earrings according to the package directions. I baked these for 15 minutes. Let your pieces cool completely before handling.
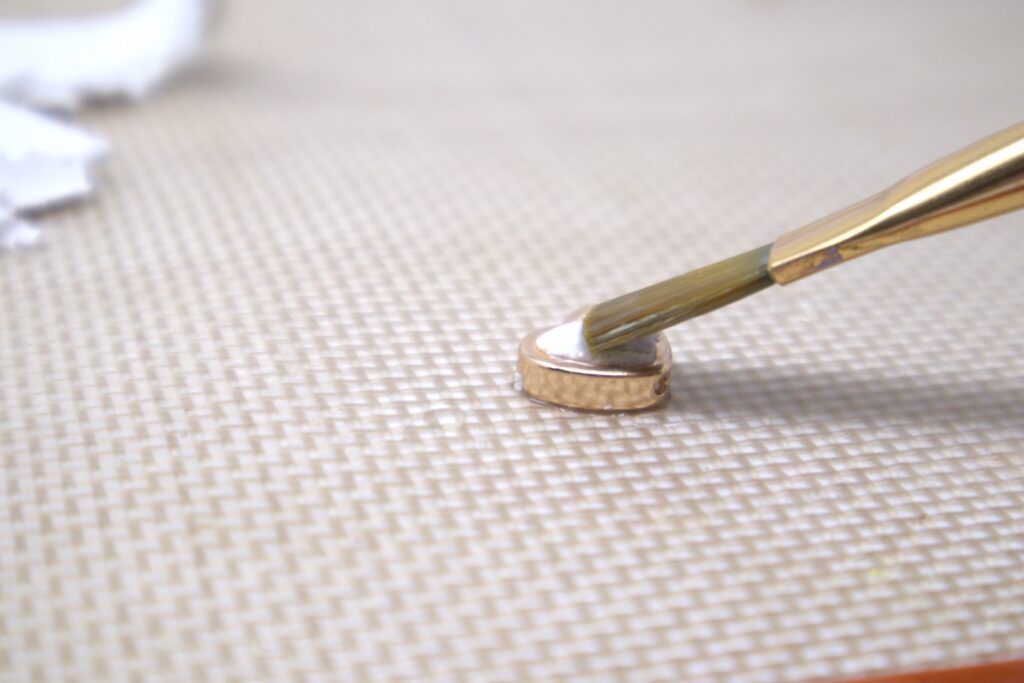
Step 5: Sealing
Once cooled, apply a sealant in a finish of your choice to the top of the earrings being careful to only apply it to the clay and let it dry completely. I used Mod Podge Super Gloss.

Step 6: Glue on posts
Glue earring posts to the back of each earring. I recommend you use flat back earring backs as they’ll better support the weight of the earring compared to friction back earring backs.
Additional Resources
No links here are sponsored/affiliate links. Feel free to purchase your supplies wherever you like best.
- Gold Heart Bead Frames (Michaels)
- Gold Flat Earring Posts (Michaels)
- Gold Flat Earring Backs (Michaels)
- Sculpey III Classic Colors Set (Dick Blick)
- CraftSmart Premium Clay Tool Set (Michaels)
- Mod Podge Super Gloss (Plaid)
- Sculpey Tools 8” Acrylic Clay Roller (Sculpey)
- JB Weld SuperWeld Extreme (JB Weld)
Leave a Reply
You must be logged in to post a comment.